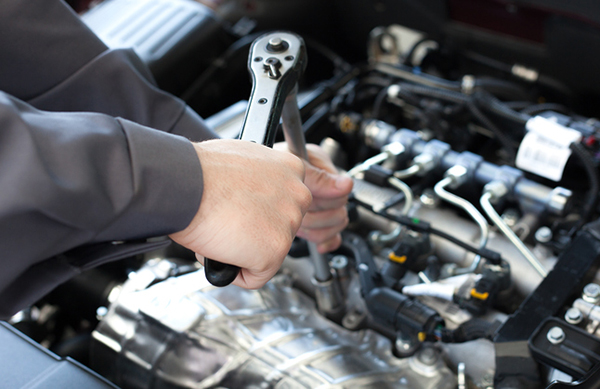
How To Replace a Windshield Wiper Motor
Vehicles are complecated mechines made up of several sophisticated parts


Windshield wipers are a driver’s dear friend when the rain powers down or when snow descends on the earth. These particles can very well obstruct your view out of the windshield while driving. Combine the wiping capabilities with windshield washer fluid and you can quickly clean the car’s windshield off of any dust or dirt stuck on it. This is especially helpful when you are out on the road or not have enough time to properly clean the glass in front. The blades can wipe all obstructions away so that you have a clear view of the road and other motorists driving along with you.
Cause of concern
Needless to say, if the blades do not work properly or are not working at all, it can be a big cause of concern. You might have heard of people changing the wiper blades after their wiping surface has been damaged a lot. Once in a while, however, the wipers could malfunction due to a failing wiper motor. Water can seep into the motor and cause damage or it could just experience extreme wear and tear. This does not happen very frequently but you may have to look into replacing windshield wiper motor if it has been in use for a while.
What does the motor control?
The job of the windshield wiper is rather simple – to drive the wiper blades at set speeds. It is a small electric motor that is connected to a transmission. The transmission arms allow the motor to control the back and forth movement of both wiper blades. It is located under the plastic cover found between the front windshield and the bonnet of your vehicle. Even if your wiper blades are in perfect condition, they will not be effective if the motor driving them is not functioning. Thankfully, one can replace the windshield wiper motor at home without the need for specialized tools.
But before you begin
Before you jump into the windshield wiper motor replacement process, it is a good idea to check if something else is not the cause of the problem. The very first thing that you can check is the fuse for the motor. The fuse box itself usually resides in the engine bay and you can open it to inspect the fuse in question. If the fuse is fine, you can check the electrical connector attached to the motor. Unplug it and use a current measuring device to see if it has power.
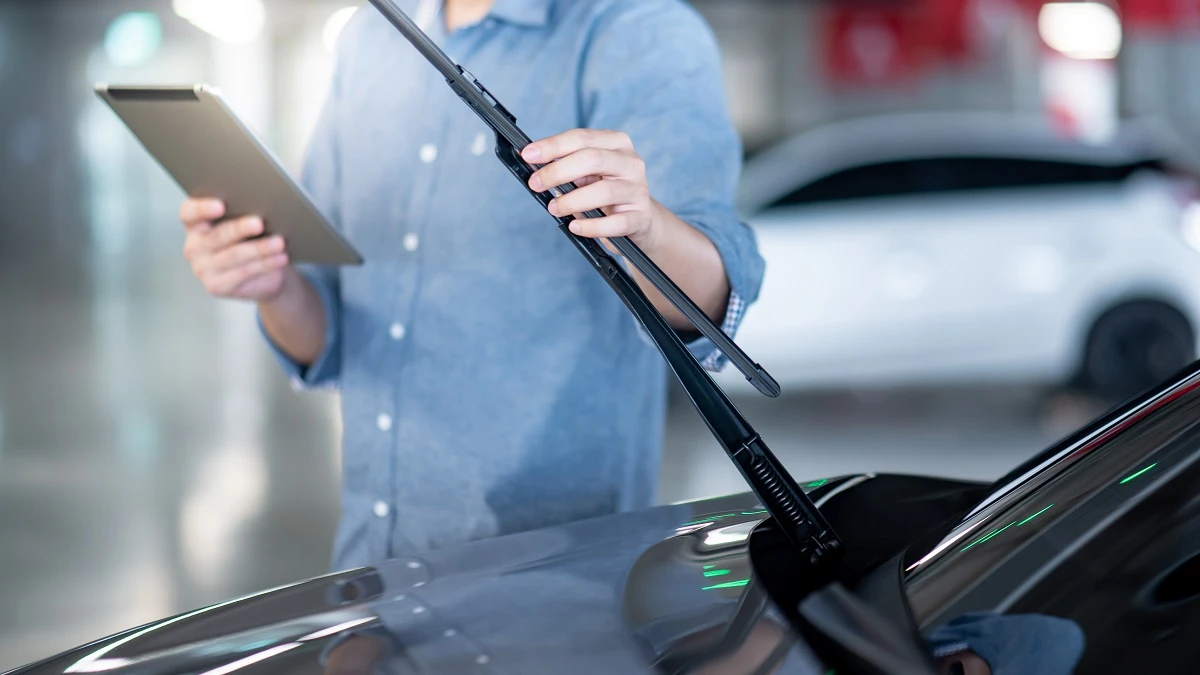
Tools for the job
Here are some of the tools you will need to change windshield wiper motor:
- New windshield wiper motor compatible with your car
- Screwdriver
- Ratchet and socket
- Plastic trim removal tool
- Multi-purpose grease (optional)
The wiper motor assembly can vary from car to car. The way to access the motor can also be a little different and you will have to check your car’s manual to see how it has been set up. However, the general steps to follow are the same across the board.
Preparing the car
- Switch off your car and park it using the handbrake.
- Open the hood of your car. The latch to release the lock can be found in the cabin of the car.
- Locate the battery and disconnect the negative terminal. You might need to use a screwdriver or a ratchet and socket to undo the screw/bolt.
- Make sure that the wipers are in the off position and at the bottom of the windshield.
- You can put temporary markers to denote the point where the blades rest. This will help later on while installing the blades back in.
Removing the windshield wipers
- Remove the plastic/rubber caps at the ends of your wiper blades using a sharp and flat tool. This will expose the nut holding the wiper blade in place.
- Remove the nut using a socket of the appropriate size.
- Press the hinged part on the blade a few times to break it free from its mount. Rock the wiper blade gently a few times and put more force as you feel it loosen up. You can also use a specialized tool to remove the wiper arm.
- Next, you will have to remove the weatherstripping and the plastic covering between the hood and the windshield. The plastic panel can be secured using screws or plastic locks.
- After the screws have been taken out, you can use a plastic trim remover tool to prise off the plastic cowl. It is not advisable to use a metallic object to do this as it can crack the plastic or even the glass of your windshield.
Extracting the windshield wiper motor
- Removing the plastics should reveal the wiper motor. Look for the electrical connector and pull it out by hand. It should have a plastic tab that you can press to unlock it.
- If you spot any bolts or screws keeping the motor held down, remove them as well.
- Extract the motor from the cavity. In some cases, you can remove just the motor and in other cases, you might have to extract it along with the transmission arm. Depending on the motor position, you might struggle a little and might have to wriggle it out.
- In case the transmission does not come out with the motor, you might have to dislodge the motor from the ball joint connecting it to the arm. You can use a long screwdriver and position it next to the joint and pull it out.
Testing the new motor
- Before you install the new motor, it is a good idea to test it. Safely place the motor on the car and in reach of the electrical connector.
- Plug the wires into the new unit. All you have to do is push the connector in the slot on the motor and the plastic clips should interlock.
- Reconnect the battery terminal so the electronics have power.
- Switch on your car and twist the wiper stock to kick the motor in motion.
- Now, inspect the motor to see if it is running or not. The spindle sticking out of the motor should begin spinning.
- If all is well, go and switch off the wipers and then switch off the car. Doing it in this order ensures that the motor stops in the off position.
Installing the motor
- To install the new windshield wiper motor properly, you will have to put it back in the cavity where the old motor resided.
- If your motor was extracted along with the transmission, you will have to attach it to the motor before you install them both back in. The transmission position should be identical to how it was on the old part.
- Secure the new motor with screws or bolts removed previously.
- Connect the electrical connector to ensure power can reach the motor.
Putting back the rest of the assembly
- Fit the plastic cowl on top of the motor and reinstall the weatherstripping as well. Pressing down gently on the plastic cover should snap the locks into place and you can put the screws in next.
- Slot the wiper blades on their mounts and in the correct position. The markers you made previously can help you position the blades.
- Put the bolts on them and tighten them properly. Put the plastic caps on top as well.
- One last step before you can close the boot is to reconnect the negative battery terminal.
- Start the car and test if the wipers are working as intended.
Things to note
While most cars let you access the wiper windshield motor via the steps shown above, some cars can be a bit different. In some cases, you might have to remove the hood to gain proper access. Doing so is rather easy as well. All you have to do is locate the nut or fastener on the hinges of the bonnet and release them. You might also have to deal with additional metal brackets that could block your access. Most of these should be secured using nuts and screws and should come off easily. Conversely, the job becomes a lot easier if the windshield wiper motor is located on the engine compartment firewall.
Additional housekeeping
When you remove the plastic cover on top of the motor, you might discover some dust and dirt that can seep into these recesses. Things like leaves or other debris can slip through the gaps in the plastic. You can take this time to clean out all of this debris using compressed air, a cloth or a brush. You can also look into applying multi-purpose grease to the various bolts and moving parts to extend their life.
 GaragePro
Proin eu nisl et arcu iaculis placerat sollicitudin ut est
Maecenas accumsan tortor ut velit pharetra mollis. Proin eu nisl et arcu iaculis placerat sollicitudin ut est. In fringilla dui dui.
Stay Connected
Tags
Newsletter
The most important world news and events of the day.
Get magzrenvi daily newsletter on your inbox.






.jpg)
